Products
Solutions
Resources
9977 N 90th Street, Suite 250 Scottsdale, AZ 85258 | 1-800-637-7496
© 2024 InEight, Inc. All Rights Reserved | Privacy Statement | Terms of Service | Cookie Policy | Do not sell/share my information

To edit vendor information, select the Edit vendor and pricing information icon in the vendor line. The Edit vendor pricing information dialog box is shown below.
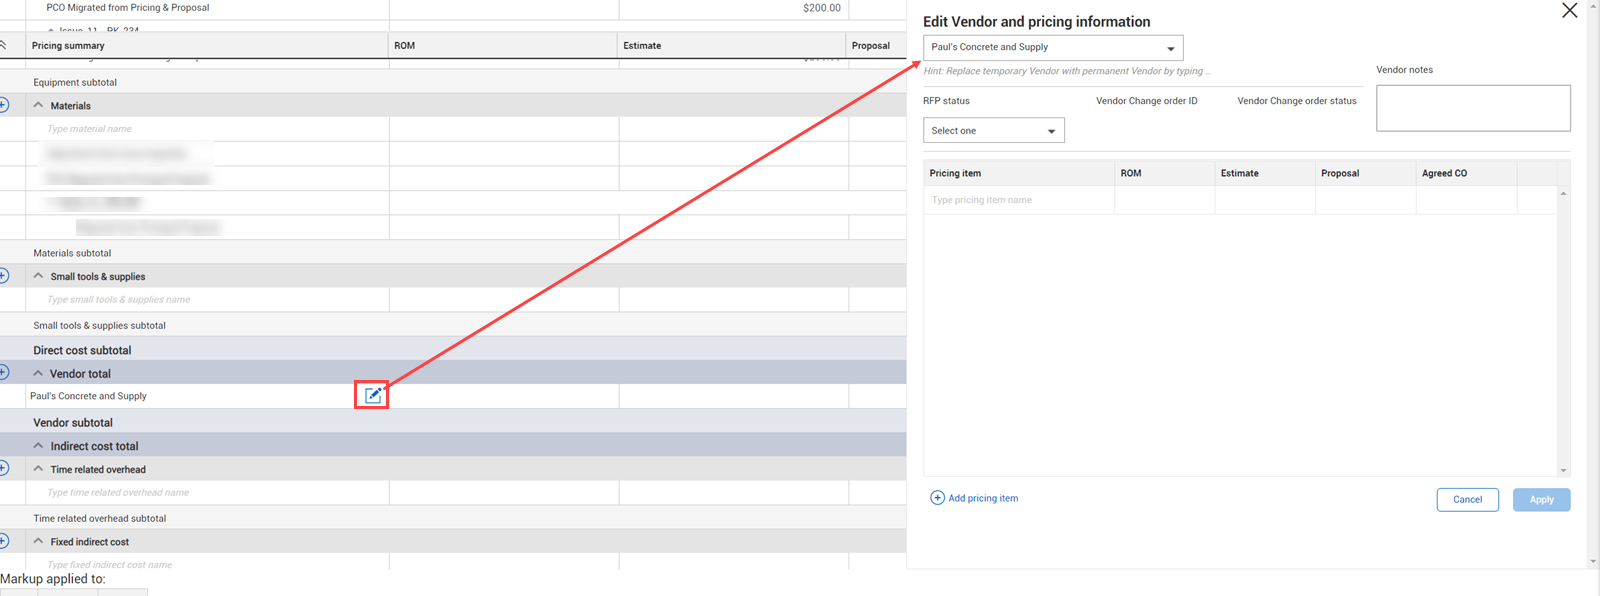
In the Edit vendor pricing information dialog box, you can then change the vendor or add the RFP status, vendor notes, pricing items or cost items. If you used a temporary vendor, you can replace it in the Edit vendor pricing information drop-down field, as shown in the image below.
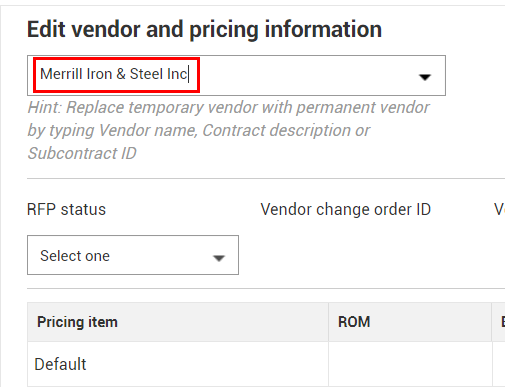
After you replace the temporary vendor to the newly assigned vendor in the Edit vendor and pricing information drop-down list, all the temporary vendors are replaced with the newly assigned vendor. It is important not to use generic temporary vendor names such as temporary vendor, or temp vendor. This action cannot be undone.
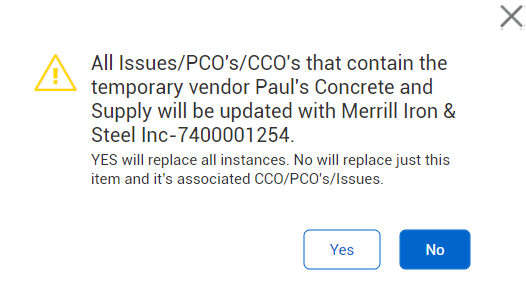
After you click Apply, a message opens stating that all issues that contain the temporary vendor name will be replaced with the newly selected. Click Yes to accept.
With the vendor added, you can record pricing. This includes ROM, Estimate, Proposed, and the value you agree upon (Agreed). The value farthest to the right for each line is used in the Contributed values column.
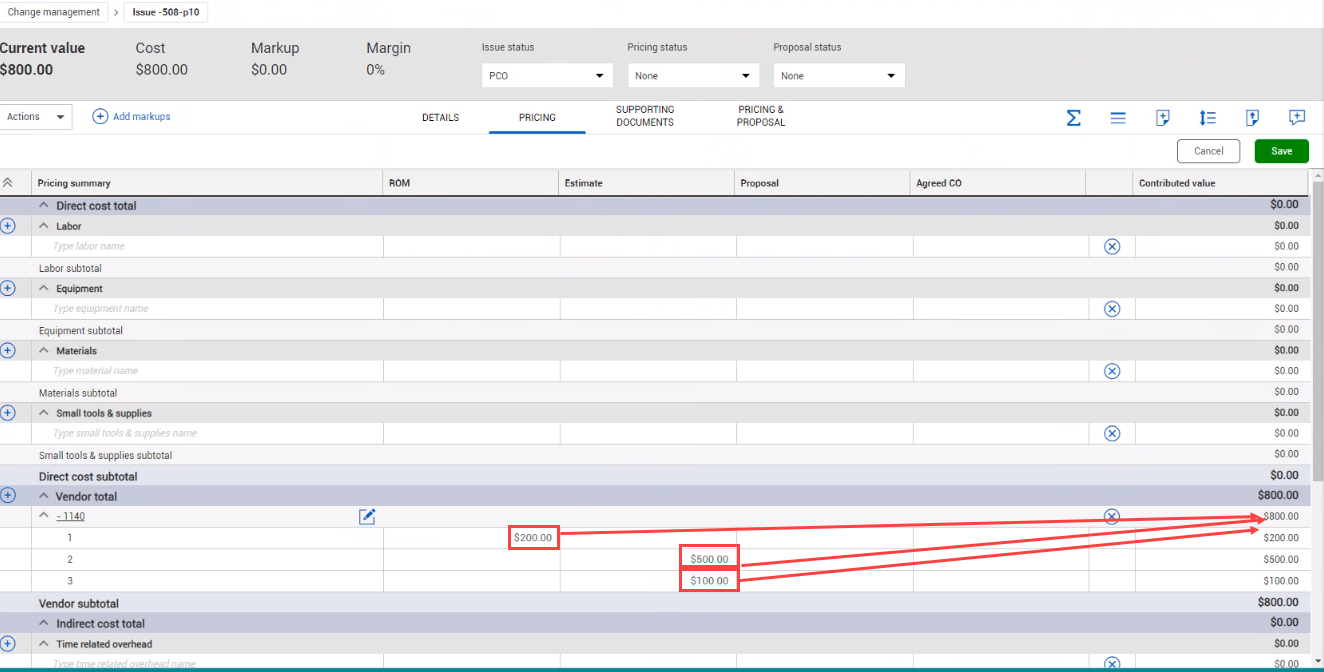
The vendor’s subtotals populate in the Contributed values and are reflected in the Grand total for the issue, which also becomes your Current Value.
Cost items that have a cost pricing of Vendor, come in as individual lines in the Vendor section as temporary vendors. Click Edit to assign the temporary vendor to an existing contract vendor. If that vendor already exists on the pricing summary page, the pricing items are combined under the vendor.
After a CCO is executed, only the Vendor field is editable, so you can replace the temporary vendor with the current vendor.
Additional Information
9977 N 90th Street, Suite 250 Scottsdale, AZ 85258 | 1-800-637-7496
© 2024 InEight, Inc. All Rights Reserved | Privacy Statement | Terms of Service | Cookie Policy | Do not sell/share my information